Learn more

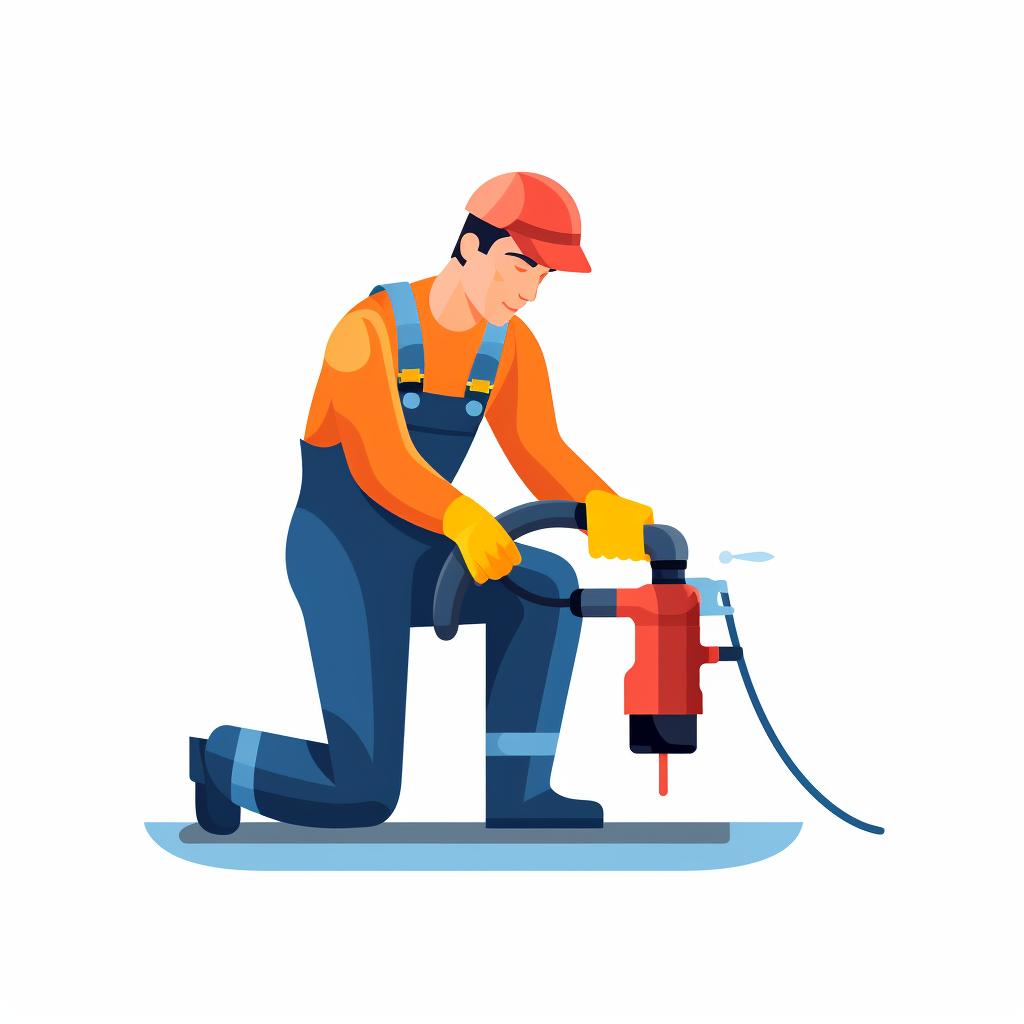
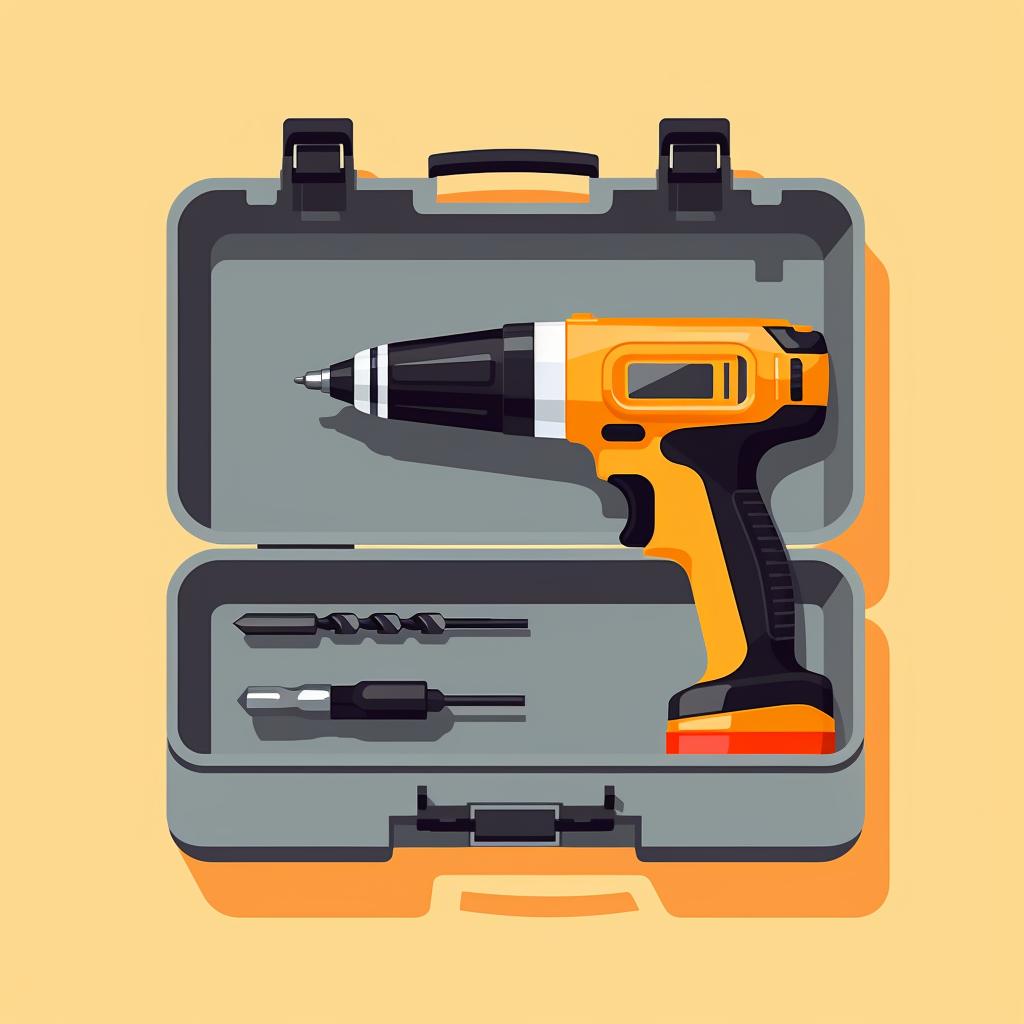
Your power drill is an essential tool for many DIY projects. However, like any other tool, it requires regular cleaning and maintenance to function optimally. This step-by-step guide walks you through the process of cleaning and maintaining your power drill, ensuring it's always ready for your next project.
Before you start, remember that safety is paramount. Always disconnect the drill from the power source and wear protective gloves. This is not only to protect your hands from sharp parts but also to prevent any accidental activation of the drill. For more safety guidelines for power tool use, check out our FAQ section.
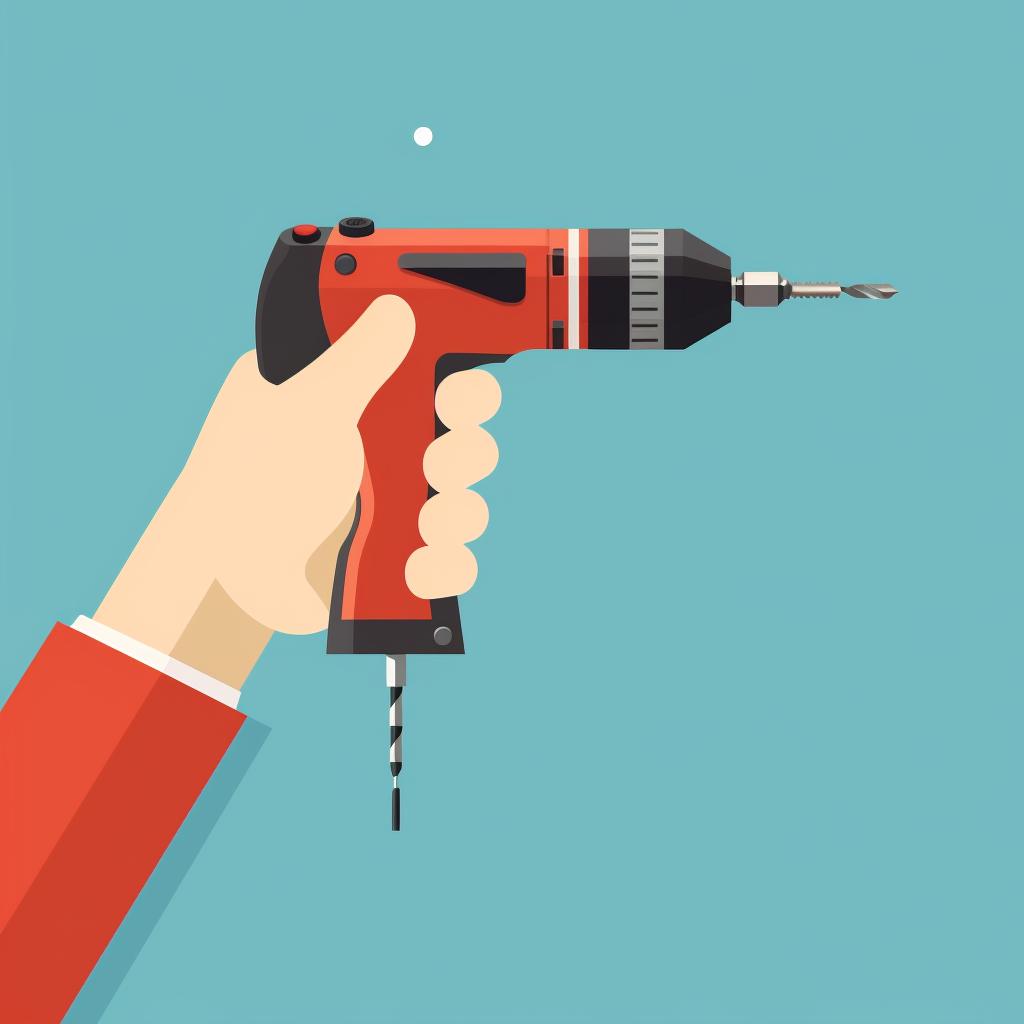
Once you've ensured your safety, the first step is to remove the drill bit. If you're having trouble with this, our comprehensive guide to drill bits and their uses provides a detailed explanation on how to remove and replace drill bits.
After removing the drill bit, you'll need to clean it. This can be done using a brush or compressed air. If the drill bit is particularly dirty, you might need to soak it in soapy water. Remember to dry it thoroughly afterwards to prevent rusting. For more tips on maintaining and sharpening your power tool blades, check out our guide.
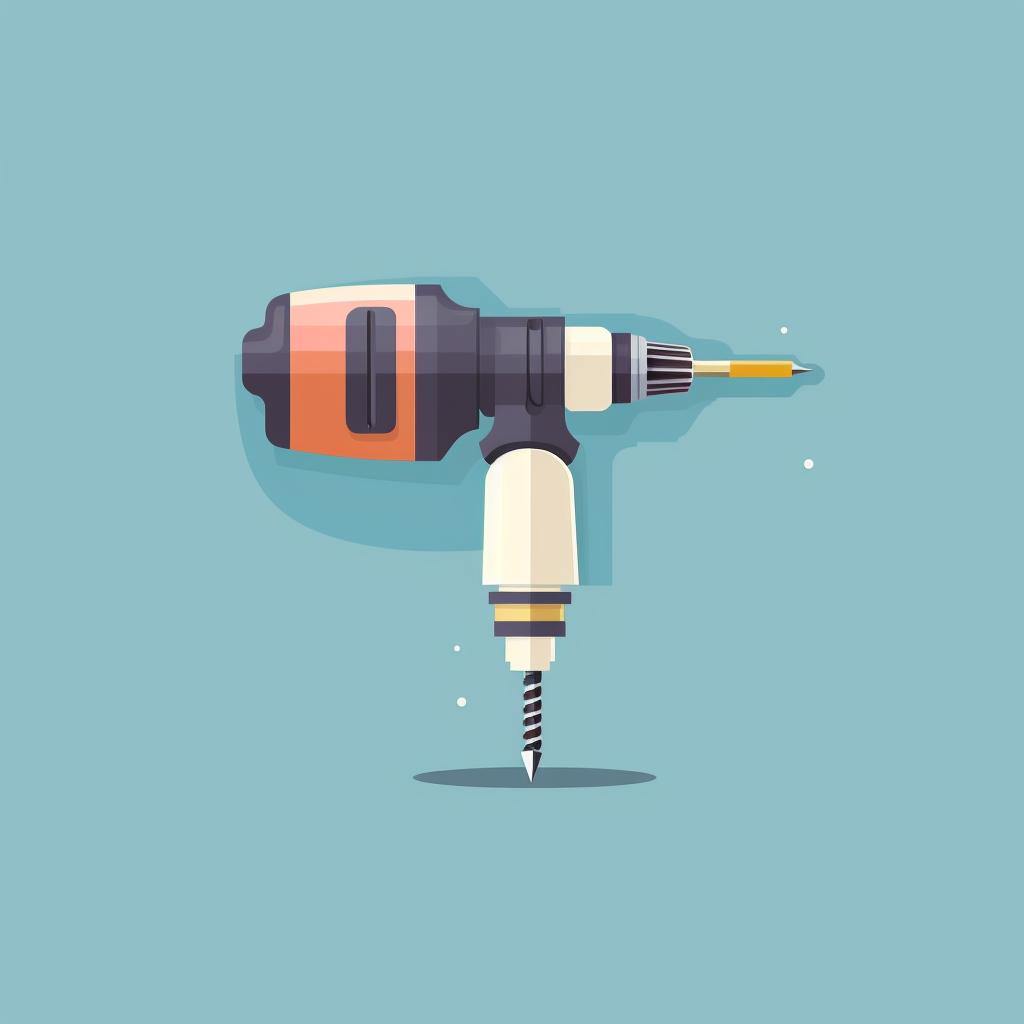
Next, you'll need to clean the chuck of the drill. A toothbrush or small brush is perfect for this task. Compressed air can also be used to remove stubborn particles. Once the chuck is clean, wipe down the drill with a damp cloth, paying special attention to the handle and trigger.
With the drill clean, the next step is to lubricate the moving parts. This ensures smooth operation of the drill. Be careful not to over-lubricate as this can attract dust. For more information on the importance of proper care and maintenance for power tools, visit our FAQ section.
Finally, reassemble and store your drill. Always store your power tools in a dry, dust-free place to keep them in good condition for your next DIY project. For more tips on power tool maintenance, check out our article.
Remember, a well-maintained power drill is not only more efficient but also lasts longer. So, take the time to clean and maintain your tools - your DIY projects will thank you!
All Rights Reserved © 2025


