How can I properly use an electric drill?

Mastering the Electric Drill: A Complete Guide for DIYers
Electric drills are indispensable tools for home improvement, furniture assembly, and creative DIY projects. Whether you’re a beginner or an experienced handyman, understanding proper drill usage, safety protocols, and maintenance will elevate your craftsmanship. This guide covers everything from essential techniques to project ideas.
Electric Drill Safety: Protecting Yourself and Your Workspace
Before operating any power tool, safety must come first. Follow these critical precautions when using an electric drill:
- Wear protective gear: Safety goggles shield against flying debris, while ear protection reduces noise exposure during prolonged use (OSHA Power Tool Safety Guidelines).
- Secure your workpiece: Always clamp materials firmly before drilling to prevent dangerous movement (Family Handyman).
- Select appropriate bits: Match drill bits to your material—wood bits for timber, masonry bits for concrete—to avoid damage and ensure clean holes (Popular Mechanics).
- Use pilot holes: When drilling hard surfaces like metal or tile, start with a small pilot hole to guide larger bits and prevent slipping (This Old House).
Step-by-Step Drill Operation
Follow these steps for precise, safe drilling:
- Insert the correct bit: Choose a bit matching your hole size and material. Keyless chucks allow quick changes, while keyed chucks provide tighter grips for heavy-duty tasks.
- Adjust speed settings: Start at low speed for control, increasing gradually. High speeds may overheat bits in metal or hardwoods (Bob Vila).
- Position properly: Hold the drill perpendicular to your surface using both hands—main handle and auxiliary grip if available—for stability.
- Begin drilling: Apply gentle, consistent pressure. Let the drill’s torque do the work; forcing it can break bits or damage materials.
- Finish safely: Wait for the bit to stop completely before withdrawing to prevent accidents and ensure clean holes.
Beginner Projects to Build Skills
Start with these simple projects to gain confidence:
- Hanging shelves: Practice drilling pilot holes and driving screws into studs (Home Depot Guide).
- Assembling furniture: Use screwdriver bits to streamline IKEA-style builds.
- DIY planters: Drill drainage holes in containers—great for practicing on plastic, ceramic, or wood.
Advanced Techniques and Accessories
Expand your capabilities with these pro tips:
- Countersinking: Create flush screw heads using specialized bits for a professional finish (Wood Magazine).
- Hole saws: Cut large-diameter holes for pipes or cables with this cylindrical attachment.
- Sanding drums: Transform your drill into a detail sander for curved surfaces.
Maintenance for Longevity
Proper care extends your drill’s lifespan:
- Clean dust from vents and chucks after each use
- Lubricate the chuck mechanism monthly
- Inspect cords for fraying; replace if damaged
- Store batteries at 40-80% charge for optimal lifespan (Pro Tool Reviews)
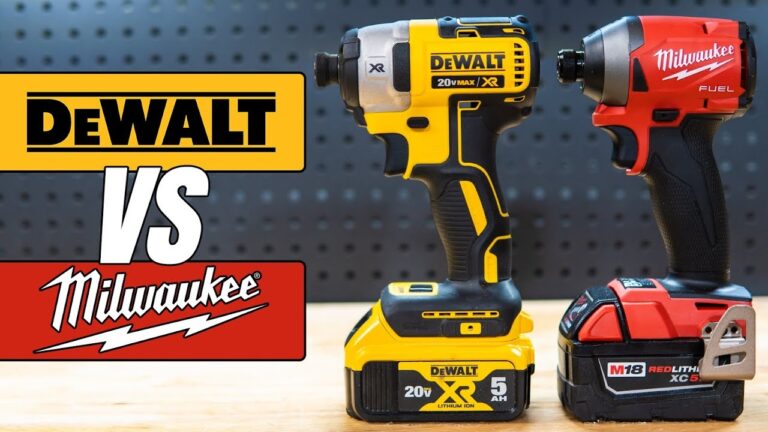
Top Drill Brands Compared
| Brand | Best For | Notable Feature |
|---|---|---|
| DeWalt | Heavy-duty tasks | Durable metal gear housings |
| Milwaukee | Professional use | Advanced brushless motors |
| Ryobi | DIYers on budget | Affordable battery ecosystem |
| Makita | Precision work | Compact lightweight designs |
Sources
- OSHA – Power Tool Safety Guidelines
- Family Handyman – Drill Safety Tips
- Popular Mechanics – Drill Bit Guide
- This Old House – How to Drill a Hole
- Bob Vila – How to Use a Drill
- Home Depot – How to Hang Shelves
- Wood Magazine – Countersinking Basics
- Pro Tool Reviews – Battery Maintenance Tips